

Key Takeaways
Caulking (home sealing)
Caulking is the process of filling gaps and cracks around windows, doors, pipes, and other openings in a home using a flexible, waterproof sealant called caulk. These gaps allow conditioned air to escape and outdoor air to enter, which forces your heating and cooling systems to work harder. Sealing them is one of the lowest-cost, highest-impact maintenance tasks a homeowner can do.
Air sealing with caulk differs from weatherstripping: caulk works on stationary surfaces (frames, sills, trim joints), while weatherstripping is used on moving parts like door edges and window sashes.
Where air leaks hide in a typical home
Most homeowners think of drafts as a winter problem limited to the front door. In practice, air moves in and out through dozens of small openings year-round, and the cumulative effect is a heating and cooling system that runs longer than it should.
Common leak locations include:
- The joint where window or door frames meet the surrounding wall
- Where interior trim meets drywall
- Gaps around pipe penetrations under sinks or behind washing machines
- The seam between the sill plate (the bottom horizontal piece of a wall frame) and the foundation
- Around recessed light fixtures and attic hatches
A quick at-home check: on a windy day, hold a lit incense stick or a damp hand near suspected gaps. Moving air will deflect the smoke or chill your skin. Many utility companies also offer free or low-cost home energy audits that use pressurization equipment to locate leaks more precisely.
These small leaks connect directly to a pattern of ongoing household costs that many families underestimate. Recurring household expenses that go unnoticed often include energy waste from preventable sources like unsealed gaps.
Choosing the right caulk for each location
Caulk is not a single product. Using the wrong type in the wrong place leads to early failure and wasted effort.
Latex acrylic caulk is the standard choice for interior joints: around window trim, baseboards, and door casings. It dries in one to two hours, cleans up with water, and accepts paint. It is not the right pick for areas that get wet repeatedly or for exterior joints that flex with temperature changes.
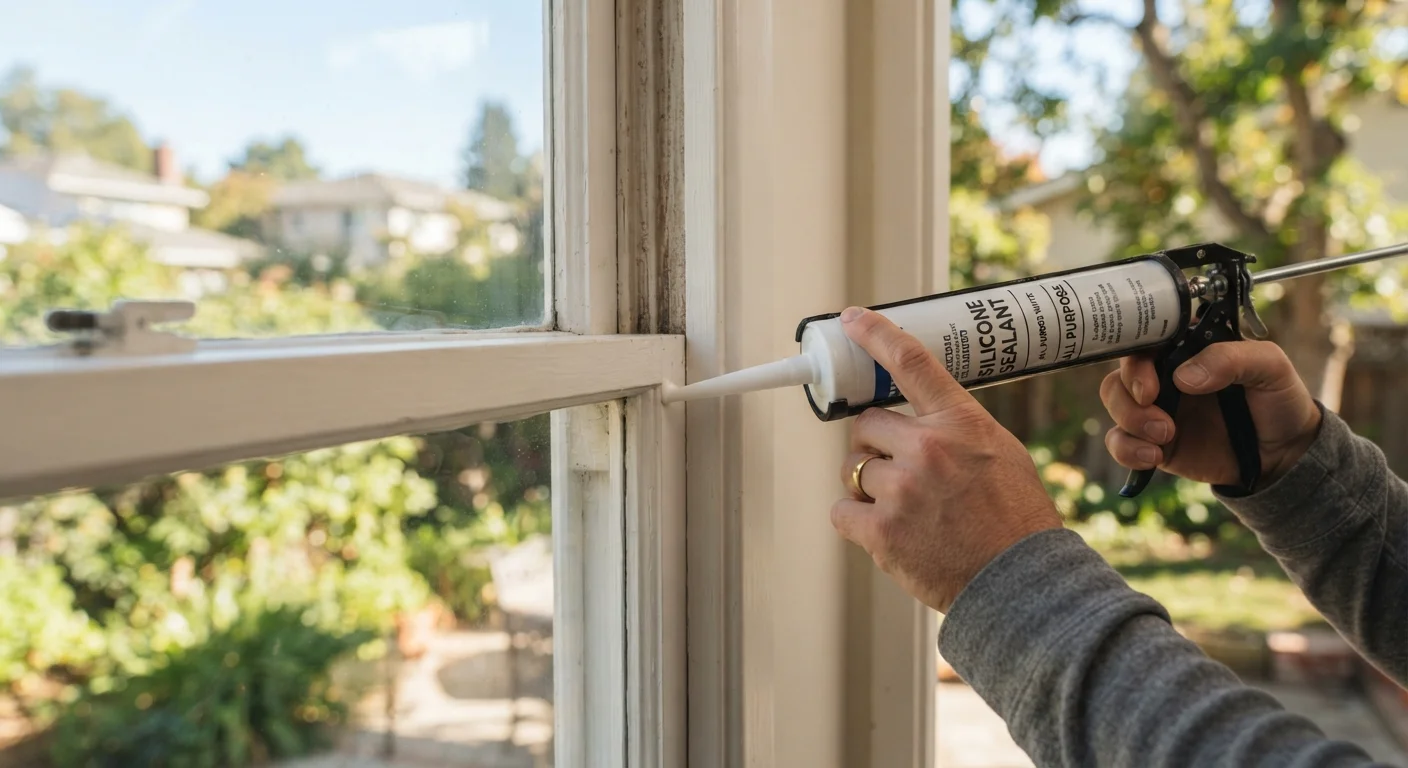
Silicone caulk holds up against moisture and temperature swings. Use it on exterior window frames, around exterior doors, and in bathrooms. It is harder to smooth neatly and cannot be painted, so appearance matters less where it works best.
Siliconized latex (also sold as "paintable silicone") blends properties of both: better flexibility than plain latex with the paintability that pure silicone lacks. This makes it a practical middle option for exterior trim that will be repainted.
One rule applies across all types: the surface must be clean, dry, and free of old caulk residue before you apply anything new. Adhesion fails on dirty or damp surfaces regardless of the product.
Test your caulk before committing
If you are unsure which caulk type suits your location, check the label for the listed applications before you buy. Most tubes list whether the product is paintable, suitable for exterior use, and appropriate for wet areas. A few seconds of label reading prevents a failed seal six months later.
How to apply caulk correctly
The process is straightforward for standard window and door locations. You will need a caulk gun (a basic model works fine), the appropriate caulk tube, a utility knife, and a damp cloth or caulk-smoothing tool.
- Cut the tip of the caulk tube at a 45-degree angle. Start with a smaller opening; you can always cut more, but you cannot undo a tip that is too wide.
- Pierce the inner foil seal with a long nail or the gun's built-in piercer.
- Hold the gun at a consistent angle and move at a steady pace. Too slow and the bead piles up; too fast and you leave gaps.
- Immediately smooth the bead with a wet finger or a plastic smoothing tool before it begins to skin over.
- Wipe away excess with a damp cloth.
Allow the caulk to cure fully before painting. Check the tube for cure times; latex products often accept paint within a few hours, while silicone may need 24 hours or more.
Caulking fits naturally into a seasonal maintenance rhythm. The seasonal home maintenance calendar for budget-conscious homeowners identifies fall as the logical time to inspect and re-seal before heating season begins.
When to stop and call a professional
Caulking window trim is genuinely DIY-friendly. Several related air-sealing tasks are not.
Gaps around recessed light fixtures that penetrate into an attic need fire-rated foam or boxes, not standard caulk, because standard sealants can pose a fire hazard near heat sources. Cracks in the foundation or sill plate that are wider than a quarter-inch may signal structural movement and warrant an inspection before any sealing. Penetrations near gas lines or flues are regulated and require specific materials specified by local building codes.
If your home is older and has not had an energy audit, a certified auditor can assess the full picture and identify whether caulking alone will provide meaningful improvement or whether insulation or other work is needed first. Many state and local utility programs subsidize these audits.
Routine exterior maintenance tasks work together. Skipping gutter cleaning and ignoring caulk failures are both forms of deferred maintenance that let water and air degrade your home's envelope over time.
This article is for general informational purposes only. Always verify local building code requirements before undertaking any home improvement project, and consult a licensed contractor for work involving electrical, structural, or gas systems.